Ever thought building your own gaming PC was just too tricky for a weekend? Well, think again. In this guide, we're going to show you how to turn a bunch of parts into your very own victory machine, one step at a time.
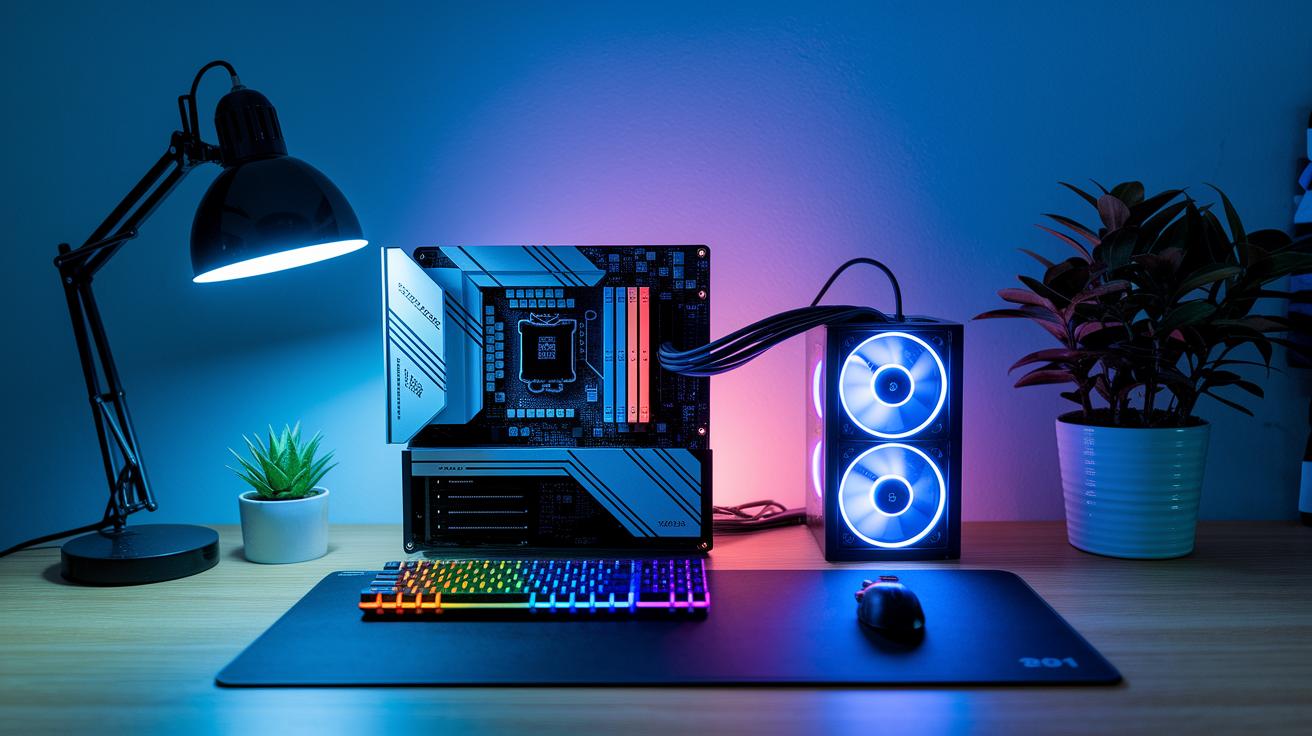
First, set up a clean workspace and grab the right tools to keep everything safe. Picture each piece slotting in perfectly, like scoring a clutch win in your favorite game.
Stick with me as we break down each move. By the end, you'll have a rig that's ready to handle every match.
Comprehensive Assembly Instructions: Tools, Procedures, and Safety Measures
Start by setting up a neat, static-free space where you won't bump anything or trip over stray cables. Clear off your table, spread out all your parts, and keep your tools nearby so everything's right at hand. Using the proper tools in the right order is super important for building a gaming PC. Always wear an ESD wrist strap to protect delicate parts from static. Keeping your components organized helps you avoid losing a tiny screw that might mess up your build. Ready? Here are the key steps:
- Prepare your workspace
- Install the CPU along with thermal paste
- Secure the heatsink using four screws
- Insert your memory (press firmly, around 30 pounds until you hear a click)
- Mount the motherboard with the I/O shield and matching screws
- Add additional components like the GPU and storage devices
- Test boot the system
| Tool | Function |
|---|---|
| Phillips Screwdriver (#2 tip) | Secures most screws and mounts parts |
| ESD Wrist Strap | Stops static from damaging components |
| Compressed Air Can | Keeps components dust-free |
| Smaller Phillips Screwdriver (#0 tip) | Handles tiny screws, great for M.2 SSDs |
When diving into the build, take it step by step. Begin with the CPU. Squeeze a pea-sized blob of thermal paste onto it, then gently place the heatsink on top. Use four evenly spaced screws to lock the cooler in place, being careful not to overtighten and damage the board. Next, install your memory by aligning the notch with the slot; press down until you hear that satisfying click. With those major parts set, mount the motherboard into your case using the I/O shield and provided screws, everything should fit together like pieces of your favorite gaming puzzle. Finally, add your GPU and storage device, whether it's a speedy M.2 SSD or a classic SATA drive.
Next up, get your tools ready in a clear area right next to your assembly station. Lay out the Phillips screwdriver, ESD wrist strap, compressed air, and any other small screwdrivers on a clean mat or in a toolbox. This way, you’re not wasting time searching when you're deep into your build. As you near the end, focus on tidying up cables. Follow your motherboard manual to plug in USB, audio, and power cables, and use ties or Velcro straps to keep any loose cables from cluttering up your neat setup. Give everything one last visual check to make sure no part is out of place, then do a test boot by entering the BIOS and ensuring every device is detected. Now you’re all set to install your operating system and get gaming!
Gaming PC Build: Selecting the Right Components and Parts
Alright, let's get into building a gaming PC, one step at a time. The motherboard is where you start, it’s like the boss that holds everything together. It picks which CPUs, memory, and storage types can team up. So, make sure your motherboard can handle the latest chips from Intel or AMD and supports the memory you want, whether that's DDR4 or DDR5. A solid choice here means your system will run smoothly and be ready for upgrades down the line.
Before you dive in and buy all your parts, jot down a list of the essentials:
- Motherboard
- CPU
- GPU
- RAM
- Storage
- Power Supply
- Cooling Solution
- Case
With these key pieces, you can balance performance and make sure every part works with the others. For example, pick a CPU that meets your gaming needs and a graphics card that fits the layout of your motherboard. Check that your memory and storage options play nice with each other, and confirm that your power supply can handle all the loads. Whether you go with air or liquid cooling depends on what best keeps your system chill during intense gaming sessions.
In the final stages, compare each part’s details like thermal performance and connection types. This careful planning makes sure every piece of your setup works together, turning your build into a power-packed gaming machine ready to win every match.
Budgeting and Cost Analysis for Your Gaming PC Build
When you're gearing up to build your gaming PC, it all starts with setting a solid budget. You might be working with as little as $500 or splurging over $4000, so it pays to think about how every dollar works for you. Each part – like the processor, graphics card, memory, and cooling – needs its share of your budget, and putting together the right mix can help you avoid overspending while still getting that high-end performance.
When you compare prices, keep these in mind:
- CPU
- GPU
- Motherboard
- RAM
- Storage
- Cooling
- Power Supply
Tools like price calculators make it easy to see which parts stretch your dollars the farthest. They give you a clear picture of the cost range of each component, so you can mix and match to build a machine that's both affordable and powerful. This step-by-step method helps keep any nasty surprises out of your final bill.
Every part in your build has a role to play. Check out processor benchmarks, compare graphics card reviews, and explore memory and storage options to snag the best deals. And don't forget to size up cooling systems and power supplies, for good performance, every detail matters. In the end, blending quality parts with smart spending ensures your rig is a solid investment, ready for epic gaming sessions and future upgrades.
Gaming PC Build Optimization: Cable Management and Cooling Solutions
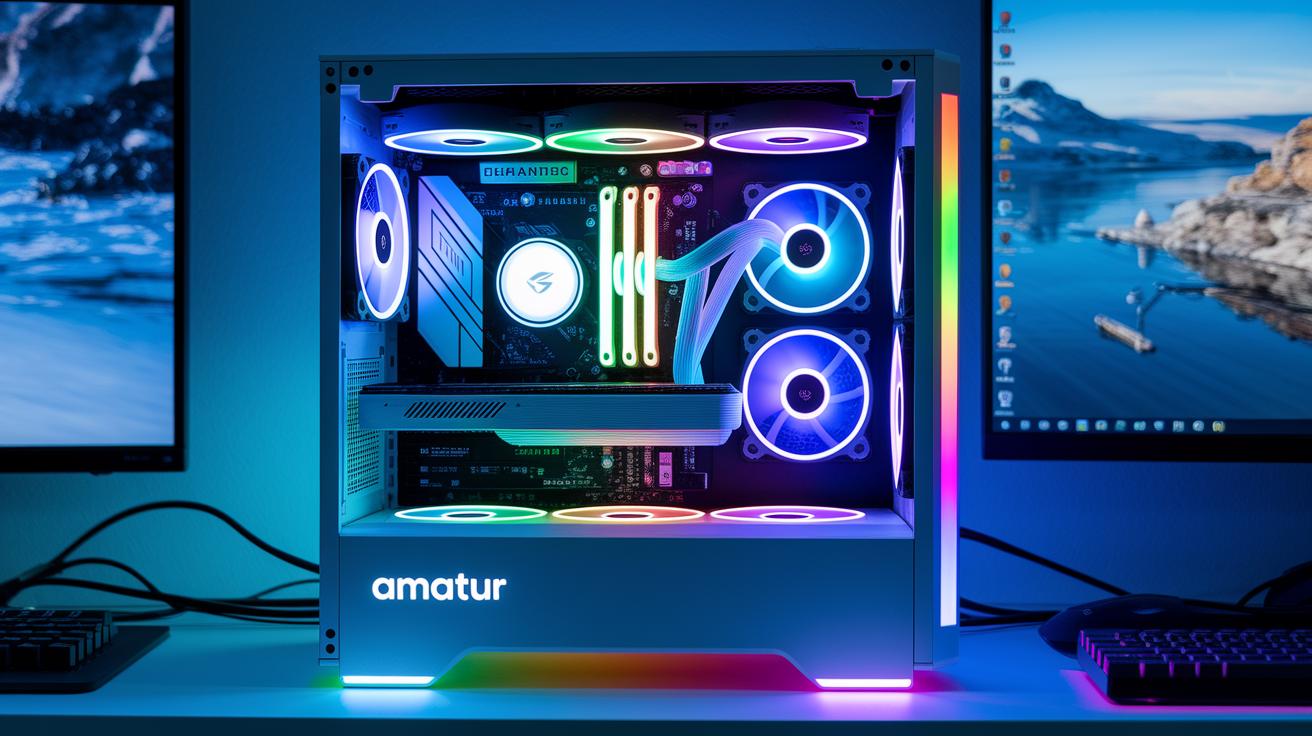
A tidy build is the secret to keeping your rig cool and quiet. When you manage your cables well, it’s not just about looking neat, it actually helps air flow better and makes cleaning up a breeze. Try using ties or Velcro straps to bundle your wires and run them along the case channels. I once cleared up space around my GPU just by tying cables neatly with Velcro, and it made a big difference in airflow and cut down the clutter. This simple trick keeps everything in check and helps your system run at steady temperatures.
Picking the right cooling method is just as important for controlling heat. Take a moment to compare air cooling versus liquid cooling and decide which fits your setup. Air cooling is simple and won’t break the bank, while liquid cooling gives extra control for those who push their systems to the max. Don’t forget to look at other options like advanced case fans or custom cable sleeving to boost both performance and style. Here’s a quick look at the differences:
| Component | Cooling Method | Key Benefit |
|---|---|---|
| CPU | Liquid Cooling | Better heat handling under heavy loads |
| GPU | Air Cooling | Steady cooling with dedicated fans |
| Case Fans | Air Cooling | Smooth airflow and low noise |
The case you choose makes a big difference for both noise and cooling performance. Go for a chassis that has plenty of vents and space for mods, like adding RGB lighting for a cool look. Keep your cables away from the primary airflow paths and consider noise reduction ideas like damping materials or smart fan placement. When you mix and match these strategies, you get a clean setup that knows how to stay cool under pressure and deliver those epic win moments.
Finalizing Your Gaming PC Build: Testing, Troubleshooting, and Performance Optimization
After you put your PC parts together, it's time to give the system a solid check. Power it up and jump into the BIOS to see if every device is recognized. Next, install your operating system (we suggest Windows 11) and update your drivers so your hardware works well with your software. Running some benchmark and stress tests will show you how the system performs under load and help spot any parts that might be lagging behind.
Before you settle in for intense gaming sessions, run through a simple checklist to catch minor issues early. You might need to check that all cables are connected properly or secure any loose components. Here's a quick list to help you out:
- Verify cable connections
- Re-seat components
- Update the BIOS
- Check your cooling system
- Run stress tests
- Monitor temperatures
These steps can help you find problems like the system not starting up properly, overheating, or loose connections. Keeping your cables tidy and every part tightly in place can boost performance, kind of like giving your home stadium one last look before kickoff.
Troubleshooting Build Errors
When problems come up, take a calm, step-by-step approach. Start by double-checking all connections with your motherboard manual as a guide. Look for parts out of place or power connections that might be off, which could be the reason your PC isn't starting. If it doesn't pass POST, try isolating and testing each hardware section one at a time. Sometimes, a quick BIOS update or reapplying thermal paste is all it takes. And if you're still stuck, check out online forums or video tutorials, chances are, someone else has dealt with the same glitch.
Final Words
In the action, we broke down every step, from assembling with the right tools and safety checks, selecting components, budgeting smartly, to fine-tuning cooling and troubleshooting for peak performance. Each part of the guide adds to a smooth, engaging build that crosses over into both gaming and streaming excellence.
Keep the momentum strong as you learn how to build a gaming pc that stands out and runs like a dream. Enjoy the process and keep pushing your skills forward!
FAQ
Frequently Asked Questions
What is a PC builder?
A PC builder refers to someone who assembles a computer by selecting and installing each component to create a custom setup tailored for gaming or everyday use.
How to build a gaming PC step by step?
Building a gaming PC step by step involves following clear instructions, choosing compatible parts, using essential tools, and applying safety measures to achieve a high-performance, custom gaming system.
What are all parts needed to build a gaming PC?
All parts needed to build a gaming PC include a motherboard, CPU, RAM, GPU, storage device, power supply, and cooling components, each chosen to work together for optimal gaming performance.
How to build a gaming PC from scratch?
Building a gaming PC from scratch means gathering key tools and components, then following a step-by-step process—from installing the CPU with thermal paste to final boot testing—that results in a fully functional rig.
How to build a gaming PC using Reddit advice?
Building a gaming PC using Reddit advice means following community-tested guides shared by fellow gamers, which offer practical tips on choosing parts, assembling components, and troubleshooting common issues.
How to build a PC?
Building a PC requires assembling individual parts—from the CPU to case fans—by carefully installing each component with proper tools and techniques to create a custom, reliable computer.
What is a PC part picker?
A PC part picker is an online tool that helps you select compatible components, compare prices, and plan your build efficiently, making your custom gaming system both cohesive and cost-effective.
How to build a PC step-by-step with pictures?
Building a PC step-by-step with pictures provides visual instructions that detail each phase of the assembly process, making it easier for beginners to understand and complete their build.
Is $1000 enough to build a gaming PC?
The idea that $1000 is enough to build a gaming PC depends on careful part selection; a $1000 budget can yield a balanced system if cost-effective yet capable components are chosen wisely.
Are gaming PCs hard to build?
The notion that gaming PCs are hard to build is softened by detailed, step-by-step guides and community tips, making the process more friendly and manageable even for newcomers.
Is $500 enough for a gaming PC?
The idea that $500 can fund a gaming PC means you’re looking at a budget, entry-level build that may run casual games, though it might not offer peak performance for the latest high-demand titles.
Can I build a gaming PC under $50,000?
The concept that you can build a gaming PC under $50,000 is true since most gaming setups are built for a fraction of that budget; spending so much would be extravagant for a typical gaming experience.